``

Showing posts with label foodie. Show all posts

Wednesday, September 6, 2017

Chili, Classic Comfort Food #foodie #fallfoods


Chili is a classic comfort food that is perfect for your Super Bowl parties or tail gating anytime.
Prepare in your slow cooker so you have time to get other things done. Use a crock pot liner to make clean up a breeze.
This recipe serves 4.

INGREDIENTS (you can double or triple this recipe for a larger crowd)

1 pound lean ground beef
1 medium green bell pepper, chopped
1 small onion, chopped
2 cans (15 oz.) red kidney beans, undrained
2 packages (1.25 oz.) chili seasoning mix
1 can (15 oz.) tomato sauce
1 can (10 oz.) diced tomatoes and green chiles

Cheese and sour cream + toppings of your choice 


DIRECTIONS
Step 1:OPEN Reynolds™ Slow Cooker Liner and place it inside a 5- to 6 1/2 -quart slow cooker bowl. Fit liner snugly against the bottom and sides of bowl; pull top of liner over rim of bowl.

Step 2:BROWN ground beef, bell pepper and onion in a large skillet over medium-high heat, stirring occasionally, until beef is no longer pink. Drain well.
Step 3:PLACE beef mixture into slow cooker liner. Combine remaining ingredients in a medium bowl. Pour over beef mixture; gently stir with wooden or plastic spoon to combine. Place lid on slow cooker
Step 4:COOK on LOW for 6 to 7 hours OR on HIGH for 3 to 3 1/2 hours until heated through.
Step 5:CAREFULLY remove lid to allow steam to escape. Serve food directly from slow cooker liner. Do not lift or transport liner with food inside. Cool slow cooker completely; remove liner and toss.

Chili recipe credit  HERE

Now you need some cornbread to go with that yummy chili:
I like to make mine in my cast iron skillet and use real butter, sometimes adding sugar to the mix to make the cornbread sweeter, since my family likes it like that.


Pioneer Woman Cornbread
from The Pioneer Woman
(Printable Recipe)

6 Tbsp shortening
1 cup yellow corn meal
1/2 cup flour
1 tsp salt
1 cup buttermilk
1/2 cup milk
1 egg
1 Tbsp baking powder
1/2 tsp baking soda

Preheat oven to 450 degrees.

Heat shortening in an iron skillet, muffin pan, or other baking pan. Combine corn meal, flour, and salt in a mixing bowl. In a separate bowl, combine buttermilk, milk, and egg. Add baking powder and baking soda. Stir. Add melted shortening, stirring constantly. Pour into hot pan, smoothing surface with spatula.

Bake for 20 to 25 minutes or until golden brown on top.

Enjoy


Wednesday, December 28, 2016

Everything You Need To Use In Your Healthy Home....2 Bundles..2 Days only!


Just imagine enjoying radiant good health… waking up with high energy every single day… feeling your body grow stronger… being able to offer your family alternative ways to heal when they get everyday ailments, and supporting better wellness overall so you get sick less often.
And imagine having a resource you can turn to, like a wise mentor, as new situations arise. You won’t have to spend hours crawling around the internet to get answers. You can be confident that you understand what you’re using, and aren’t taking risks with your family’s health.
One of my favorite online companies loves to put together what they call “bundles” which is their way of saying “a crazy amount of value in one really affordable package”.
Well, they’ve brought back two of their most popular bundles, just in time to get ready for a healthy new year! The first one’s called The Herbs and Essential Oils Super Bundle and The Ultimate Healthy Living Bundle.
Let’s talk about The Herbs and Essential Oils Super Bundle first. This bundle has 21 eBooks, eCourses, and printable cheat sheets, many of which are written by certified herbalists, aromatherapists, health researchers, educators and more, and are extremely practical and user-friendly.
Normally you’d buy these resources for more than $400.
But with their bundle model, you pay just $29.97 – less than 10% of the retail value – and less than your copay for many routine doctor visits.
With your bundle, you’ll have access to resources that teach you:
  • a 6-point checklist to choose only the highest quality, most effective essential oils
  • the 5 essential oils you’ll want to keep on hand
  • how to give yourself an emotional lift with a special mixture of two herbs, and how you can relax and fall asleep naturally
  • how to make an immune boost tincture formula
  • a lavender scalp treatment that leaves your hair soft and shiny (and a foot scrub that leaves your skin soft and soothes jangled nerves at the same time)
Learn more or get your Herbs & Essential Oils Super Bundle here.


Do you enjoy Healthy Living...................


Just a few of the awesome products in the Healthy Living Bundle

 Then.... let me tell you about The Ultimate Healthy Living Bundle.
You sort of need to see it to believe it, but the package includes 83 digital products and it’s worth over $2,400!
For the cost of a small bag of groceries, you’ll get a complete healthy living library to help you:
  • prepare whole & delicious real food
  • get the toxins out of your house for good
  • understand and use natural remedies
  • breathe new life into your exercise habits
  • learn about important women’s health issues
  • raise exceptionally healthy kids in an unhealthy world
  • plus learn about gardening & homesteading, meal planning, weight loss and so much more! 
Learn more or get your Ultimate Healthy Living Bundle here.

    The only catch? These bundles are available for just 2 short days, so you need to grab yours quick! Last day to get yours is Thursday, December 29th.

    P.S. A little birdie told me that after you buy one of these bundles, you’ll get a special offer on the second bundle, so be sure to watch for that after checkout!


Hurry and order your bundles, they go quickly and you only have 2 days to order!


Saturday, January 23, 2016

Got Soup? Panera Bread Potato Soup.... So Good


Copy Cat Recipe: Panera Bread Potato Soup


This stuff is delicious! I have been looking for a good copy cat recipe and I found one to use, link below. Perfect for this weekend since we have snow and ice, it's cold and my family will appreciate a warm cup of soup with some warm bread. Try it, it will not disappoint.

Here’s the Panera Bread potato soup recipe written out:
  • 4 cups chicken broth
  • 4 cups peeled and cubed potatoes
  • 8 oz cream cheese
  • 2 cloves of garlic
  • ½ teaspoon seasoning salt
  • ½  teaspoon of paprika
  • ¼ teaspoon white pepper
  • ¼ teaspoon ground red pepper (I leave this out, but great if you like more spicy!)

  • 1. Combine broth, potatoes, garlic, and spices.
  • 2. Boil on medium heat until potatoes are tender.
  • 3. Smash a few of the potatoes to release their starch for thickening.
    4. Reduce to low heat.
    5. Add cream cheese.
    6. Heat, stirring frequently, until cheese melts.

Read more at http://manouvellemode.com/2012/01/26/copy-cat-panera-bread-potato-soup/#iYtmmWxogMgUBrW3.99


Enjoy, stay home and stay safe this weekend

Friday, June 5, 2015

Essential Recipe: Kale Chips

Don't knock them until you try them, they are incredibly yummy, and healthy for your family.
We snack all the time at home since we are doing school at home, its so easy to fall into bad habits, so I have been searching for healthier options for my kids snack habits (and my own).
These chips will disappear as soon as you get them out of the oven. Try this recipe for original flavored kale chips or spice them up with other herbs and essential oils for more options. Try garlic powder, Parmesan cheese, and Lemon essential oil for an Italian twist, or cumin and Cilantro essential oil for Mexican-style chips. The options are endless!


What You Need:

1 large bunch kale, washed and torn into bite-size pieces
2 tablespoons olive oil
2 drops Lemon essential oil (add others that you like)
Salt & Pepper

Directions:

1. Preheat oven to 2oo degrees.
2. Wash and dry kale thoroughly.
3. Combine olive oil and Lemon essential oil in a large mixing bowl.
4. Put kale in a large mixing bowl and toss in oils.
5. Make sure all of the kale is well coated with oils by massaging each piece. Once coated, place on a baking sheet in a single layer. 
6. Salt and Pepper as desired
7. Bake on the center rack for 45-50 minutes (or until nice and crispy). 

Keep an eye on the smaller pieces and take them out if they are done earlier, otherwise they will burn. 


  Place in a bowl or basket and watch your family gobble them up.

So what is all the good stuff in Lemon Oil.......its an amazing oil, that's what! Smells so good, I use it myself for a daily pick me up, put it in my water to detox and give me energy, rub it on my neck to soothe my sore neck muscles after a long weekend at work. Lemon Oil has so many uses it is great to keep in your Dr mom box.


Get your Lemon Oil HERE 

*These statements have not been approved by the Food and Drug Administration. dōTERRA products are not intended to diagnose, treat, cure or prevent disease. Pregnant or lactating women and persons with known medical conditions should consult a physician prior to the use of any dōTERRA product. - See more at: http://doterrablog.com/essential-recipe-kale-chips/#sthash.VBvSONzi.dpuf

Contains links to my Doterra Essential Oils site- see my disclosure page for more information about links and affiliate info.

Have a blessed day! 

Saturday, January 3, 2015

NATIONAL CHOCOLATE COVERED CHERRY DAY


National Chocolate Covered Cherry Day – January 3


Recognized by the National Confectioners Association and celebrated by millions of people across the country, January 3rd is National Chocolate Covered Cherry Day.
It is almost impossible to eat just one of these chocolate covered cherry candies that have combined two favorite flavors into one delicious treat. The candy often times is made with a sweet liquid center and in some cases has a liquor filling center.


Known to many as a “mid winter pick-me-up” chocolate covered cherries, also called chocolate cordials, can be either store-bought or homemade. There are also many recipes that mimic the flavor of the long known and well loved candy.
In the 1700′s in England, cherries were enclosed in chocolate with a little kirsch (cordial) liqueur. After finding their way to America, they were well accepted with the little bit of alcoholic cordial surrounding the fruit that had been dipped in chocolate. Although originally made with the liqueur, cordials/chocolate covered cherries are more commonly made with a sugar syrup flavored with cherries. The pitted cherries that are used have been cooked in sugar syrup and jarred.
Enjoy your day sharing some chocolate covered cherries with your friends and try one of the following “tried and true” recipes:
I can recall eating these yummy treats at Christmas when I was a child, can't wait to make them myself. I really never thought about making them at home, just bought them at the store. The cookie recipe looks divine, I might try that first.....mmmmmm.

Going to order many of my baking supplies from Soap.com, have you ever tried them?
Here is a coupon for you.
Save 15% Off Your First Order at Soap.com. Enter Code: SOAPAFF15 (Max Discount $15)
Code: SOAPAFF15


Saturday, December 21, 2013

Festive Fruit Pizza A Family Favorite At Our House #recipes #holiday

Every time I need to make and take a dessert to a get together my family shouts out "Fruit Pizza"! They love this luscious fruity pizza like pie. I sorta combined recipes over the years to make my own concoction, so bear with me trying to post the ingredient list.
This time my daughter Sarah who is 10 wanted to make her own pie for our family as I made one to take to work for a co-workers birthday party. You will be amazed at the chef-like creation my 10 yr old daughter whipped up. Mommy helped minimally.

Sarah's Fruit Pizza!

My Fruit Pizza Creation!

Ingredient List :


  • Sugar cookie dough- I buy the rolls or big bucket at "SAMs", I have made from scratch but find it work better premade and already chilled.
  • Cream cheese-softened-2 blocks per pizza
  • Cool whip -1-8oz container per pizza( use vanilla if you want extra yummy)
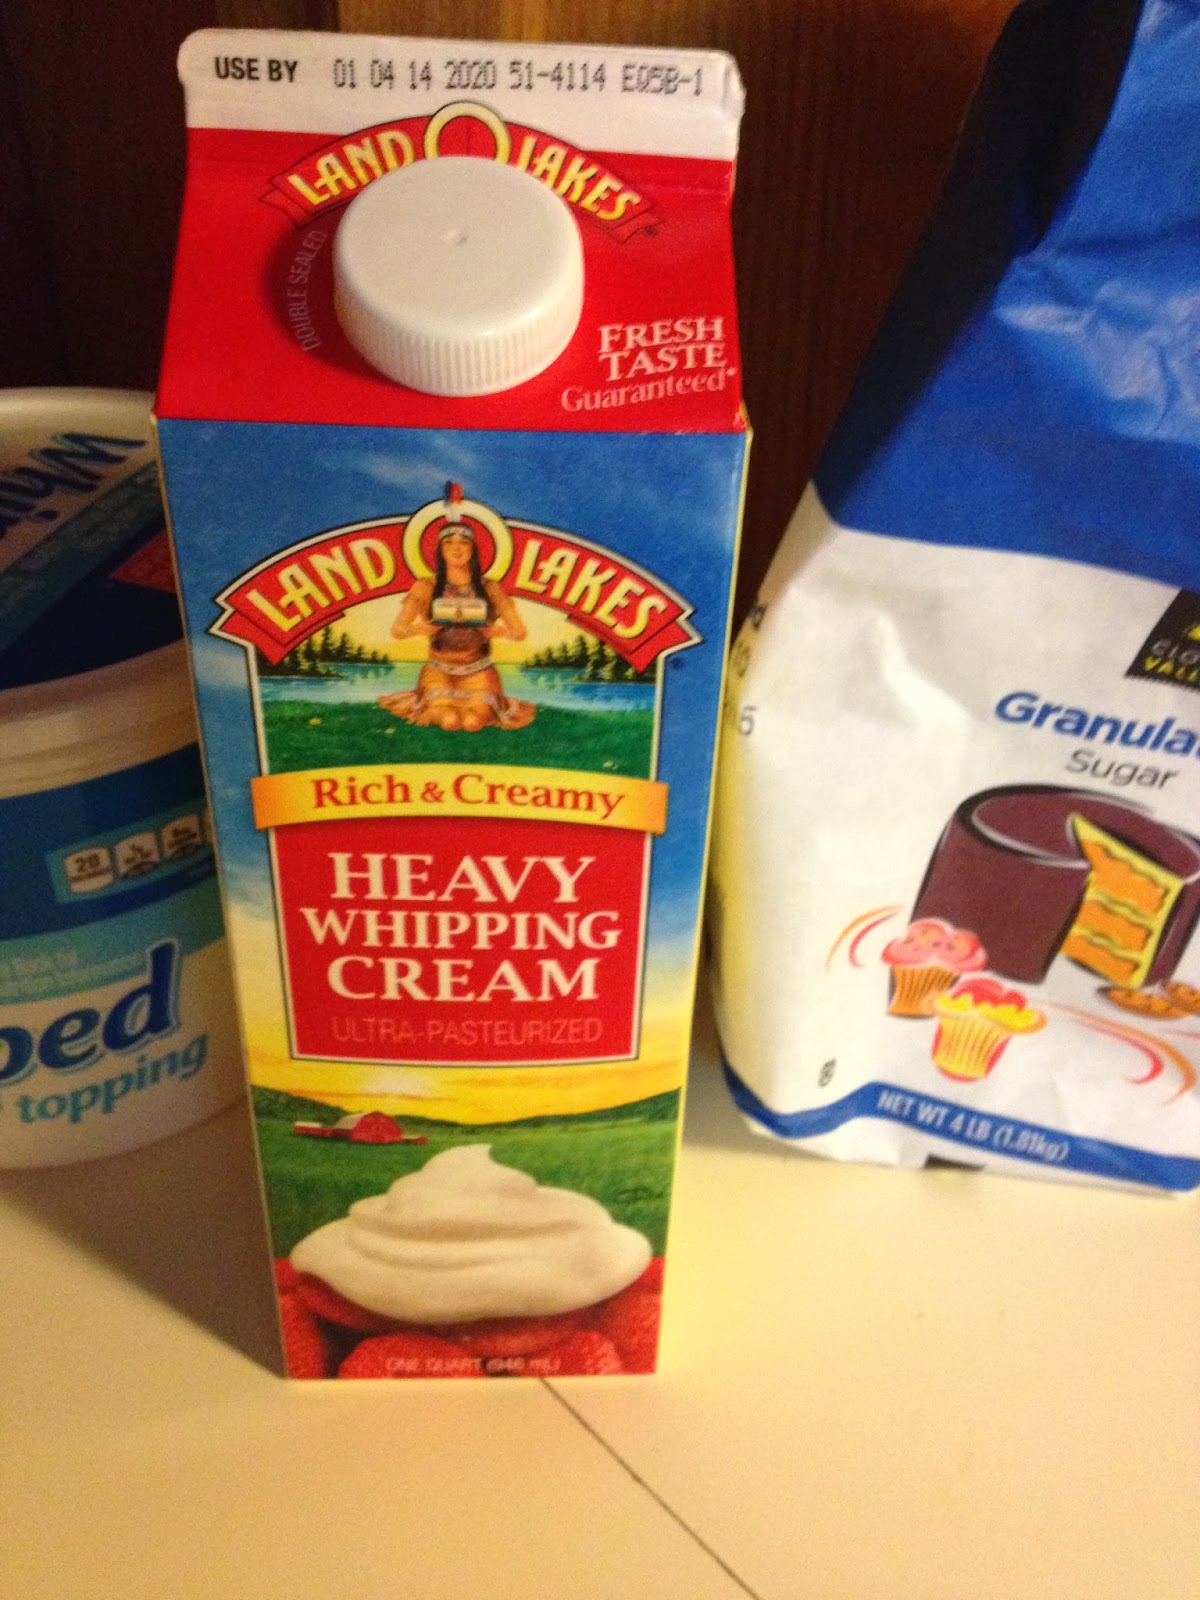
  • Heavy whipping cream ( optional-makes base creamier)
  • Sugar -1cup per pizza
  • Lemon zest or juice--or almond extract (your taste in base)
  • Confectioners sugar -for glaze
  • Juice of an orange -for glaze
  • Assorted fresh fruit in season drained of juices-I like kiwi, blueberries,strawberries,mandarin oranges,raspberries,blackberries, bananas (slice and pat juices with paper towel so it does not run)

 How To:

  • Start with a pizza pan /stone or a baking/cookie sheet, place parchment paper or aluminum foil on pan to ease clean up. 
  • Grease foil pan with coconut oil(my preference-works great in baking).
  • Take your sugar cookie dough and begin to form a huge cookie bottom on your pan. 
  • If you are using slice rolls , cut then approx 1in wide or so and put them down on the pan. Roll out or use your hands ( grease them first) to press the dough all over the pan. 
  • Your choice if you want an edge or roll around the edges.


Now bake cookie dough as directed on your dough directions.

Let cool completely

You can start mixing the base or pizza sauce for your pizza while the cookie is baking and cooling.
In a large mixing bowl, combine the cream cheese, whipped cream, lemon zest or extract (or your choice of flavorings), and sugar. Pour heavy whipping cream in as you mix with your beaters or free standing mixer.


When the base is a totally mixed and whipped together to your liking, apply to the baked cookie crust
of your pizza. I use a spatula to ease the spread of the mixture.


Get all your fruits ready to go, sliced, dry and no dripping juices to run.


The pizza is now ready to be your canvas to place all your fruits in any patterns you desire. Anything goes, you can get as creative as you please. I start from the center and work my way out, rotating colors.


When you are all done, mix your glaze, the confectioners sugar and juice of an orange or a lemon, with a whisk. Use a pastry brush to paint the glaze over all the fruit to give it an extra shine and help keep it fresh.


Place your pizzas in the fridge to chill, cut with a pizza cutter and serve. Your family will enjoy I promise. The longer this delight sits the better it gets. Yummy....... just shake out all those calories.


Please share on your favorites social sites

LinkWithin

Related Posts Plugin for WordPress, Blogger...